عنصر پیشرفت HTML کاربردی است، اما سبک کردن آن دشوار است. اگر به دنبال چیزی کمی فانتزی تر هستید، این جایگزین های CSS را امتحان کنید.
CSS نقش مهمی در طراحی وب سایت شما دارد. با استفاده از CSS می توانید به راحتی عناصر قابل استفاده مجدد مانند الگوهای پس زمینه، کارت ها، دکمه ها، نوارهای ناوبری و غیره ایجاد کنید. این عناصر آماده برای استفاده به شما کمک می کنند تا برنامه های وب پویا را سریع و کارآمد ایجاد کنید.
میتوانید از نوارهای پیشرفت برای نمایش معیارها استفاده کنید، نشان دهید دانلود فایل چقدر طول میکشد، یا بازخوردی در زمان واقعی در مورد فرآیند پسزمینه ارائه دهید. می توانید از این چهار مثال نوار پیشرفت مستقیماً در پروژه های خود استفاده کنید یا آنها را به دلخواه تغییر دهید.
1. نوار پیشرفت گسسته
کد در این مثال ها در a موجود است
مخزن GitHub
و برای شما رایگان است که در زیر استفاده کنید
مجوز MIT
.
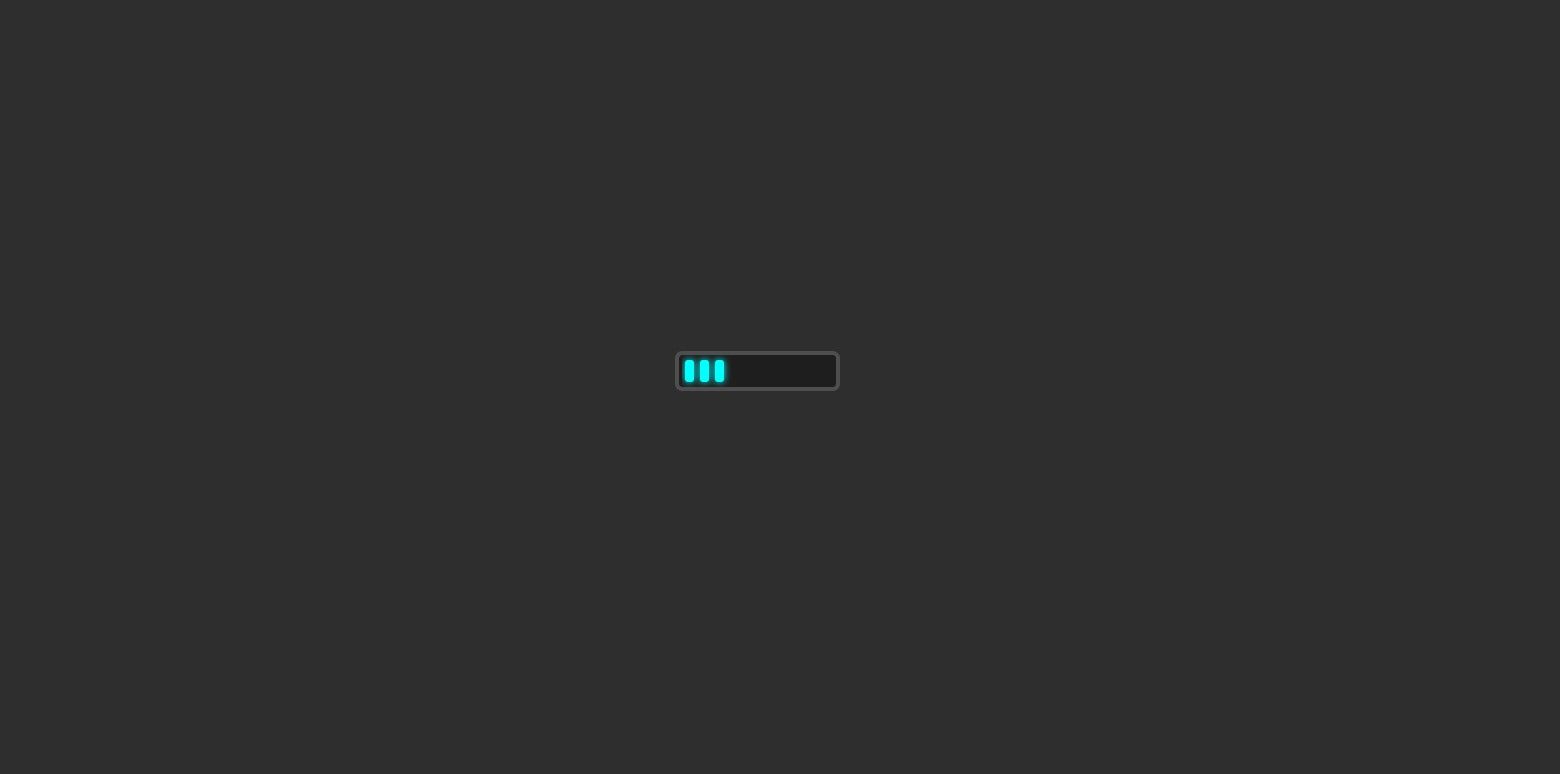
این نوار پیشرفت مجزا و مدرن از انیمیشن CSS فریم کلیدی برای افزودن یک جلوه پیشرونده به بخشی از وب سایت شما استفاده می کند. مثال از یک ویژگی انیمیشن بی نهایت استفاده می کند، بنابراین نوارهای گسسته متحرک می شوند و برای همیشه تکرار می شوند. شما می توانید این نوار پیشرفت را در حالی که اتفاقی در پس زمینه در حال رخ دادن است نمایش دهید، این در نهایت به بهبود UX یک وب سایت کمک می کند.
کد HTML
<div class="progress">
   <div class="track">
       <div class="bar"></div>
       <div class="bar"></div>
       <div class="bar"></div>
       <div class="bar"></div>
       <div class="bar"></div>
       <div class="bar"></div>
       <div class="bar"></div>
       <div class="bar"></div>
       <div class="bar"></div>
       <div class="bar"></div>
   </div>
</div>
کد CSS
body {
    background-color: #2e2e2e;
}

div.track, div.bar {
    box-sizing: border-box;
    position: relative;
}

div.progress {
    width: 100px;
    padding-left: 2px;
    padding-right: 2px;
    height: 21px;
    border-radius: 5px;
    border: solid 3px #4e4e4e;
    background-color: #1e1e1e;
    position: absolute;
    top: calc(50% - 13px);
    left: calc(50% - 53px);
}

div.track {
    position: relative;
    width: 100%;
    height: 21px;
    overflow: hidden;
    -webkit-animation: prgBar 5s linear 0s infinite alternate;
    animation: prgBar 5s linear 0s infinite alternate;
}

div.bar {
    height: 15px;
    width: 6px;
    background-color: #00ffff;
    position: relative;
    border-radius:2px;
    box-shadow: 0px 0px 5px #00ffff;
    margin-left: 2px;
    margin-right: 2px;
    margin-bottom: 100px;
    top: 3px;
    float: left;
    clear: top;
}

@-webkit-keyframes prgBar {
    0% { width: 0% }
    9.99% { width: 0% }
    10% { width: 10% }
    95% { width: 100% }
}

@keyframes prgBar {
    0% { width: 0% }
    9.99% { width: 0% }
    10% { width: 10% }
    95% { width: 100% }
}
2. نوار پیشرفت مرحله HTML خالص و CSS
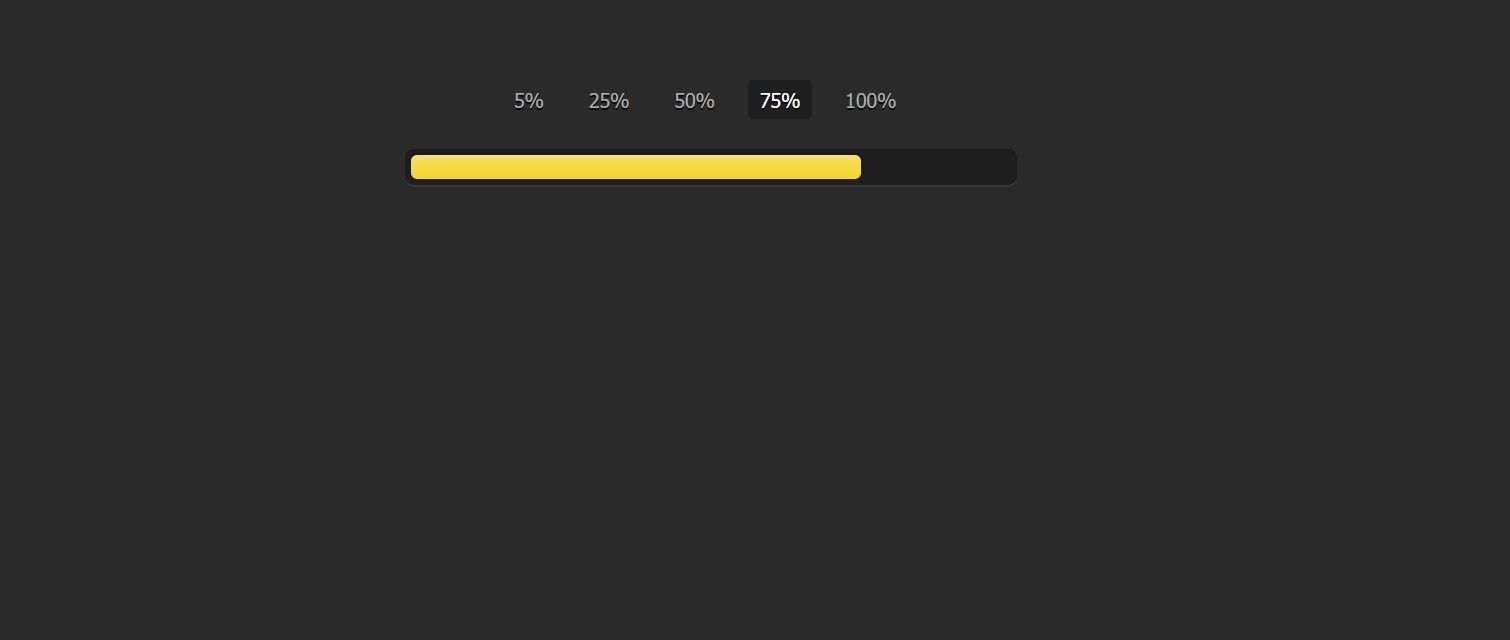
این مثال از درصدهای مبتنی بر گام برای پر کردن نوار پیشرفت استفاده می کند. یک انتخابگر CSS رنگ نوار پیشرفت را برای هر مقدار درصد مشخص می کند. میتوانید با تغییر خاصیت پسزمینه رنگ برای هر مرحله، رنگها را تغییر دهید (#five:checked، #twentyfive:checked و غیره). همچنین میتوانید مراحل جدید را بر اساس نیاز خود حذف یا اضافه کنید، فقط مطمئن شوید که ویژگی عرض مراحل را متناسب با آن تغییر دهید.
کد HTML
<div class="container">
    <input type="radio" class="radio" name="progress" value="five" id="five">
    <label for="five" class="label">5%</label>

    <input type="radio" class="radio" name="progress" value="twentyfive" id="twentyfive" checked>
    <label for="twentyfive" class="label">25%</label>

    <input type="radio" class="radio" name="progress" value="fifty" id="fifty">
    <label for="fifty" class="label">50%</label>

    <input type="radio" class="radio" name="progress" value="seventyfive" id="seventyfive">
    <label for="seventyfive" class="label">75%</label>

    <input type="radio" class="radio" name="progress" value="onehundred" id="onehundred">
    <label for="onehundred" class="label">100%</label>

    <div class="progress">
        <div class="progress-bar"></div>
    </div>
</div>
کد CSS
body {
    font: 13px/20px "Lucida Grande", Tahoma, Verdana, sans-serif;
    color: #404040;
    background: #2a2a2a;
}

.container {
    margin: 60px auto;
    width: 400px;
    text-align: center;
}

.container .progress {
    margin: 0 auto;
    width: 400px;
}

.progress {
    padding: 4px;
    background: rgba(0, 0, 0, 0.25);
    border-radius: 6px;
    -webkit-box-shadow: inset 0 1px 2px rgba(0, 0, 0, 0.25), 0 1px rgba(255, 255, 255, 0.08);
    box-shadow: inset 0 1px 2px rgba(0, 0, 0, 0.25), 0 1px rgba(255, 255, 255, 0.08);
}

.progress-bar {
    height: 16px;
    border-radius: 4px;
    background-image: -webkit-linear-gradient(top, rgba(255, 255, 255, 0.3), rgba(255, 255, 255, 0.05));
    background-image: -moz-linear-gradient(top, rgba(255, 255, 255, 0.3), rgba(255, 255, 255, 0.05));
    background-image: -o-linear-gradient(top, rgba(255, 255, 255, 0.3), rgba(255, 255, 255, 0.05));
    background-image: linear-gradient(to bottom, rgba(255, 255, 255, 0.3), rgba(255, 255, 255, 0.05));
    -webkit-transition: 0.4s linear;
    -moz-transition: 0.4s linear;
    -o-transition: 0.4s linear;
    transition: 0.4s linear;
    -webkit-transition-property: width, background-color;
    -moz-transition-property: width, background-color;
    -o-transition-property: width, background-color;
    transition-property: width, background-color;
    -webkit-box-shadow: 0 0 1px 1px rgba(0, 0, 0, 0.25), inset 0 1px rgba(255, 255, 255, 0.1);
    box-shadow: 0 0 1px 1px rgba(0, 0, 0, 0.25), inset 0 1px rgba(255, 255, 255, 0.1);
}

#five:checked ~ .progress > .progress-bar {
    width: 5%;
    background-color: #f63a0f;
}

#twentyfive:checked ~ .progress > .progress-bar {
    width: 25%;
    background-color: #f27011;
}

#fifty:checked ~ .progress > .progress-bar {
    width: 50%;
    background-color: #f2b01e;
}

#seventyfive:checked ~ .progress > .progress-bar {
    width: 75%;
    background-color: #f2d31b;
}

#onehundred:checked ~ .progress > .progress-bar {
    width: 100%;
    background-color: #86e01e;
}

.radio {
    display: none;
}

.label {
    display: inline-block;
    margin: 0 5px 20px;
    padding: 3px 8px;
    color: #aaa;
    text-shadow: 0 1px black;
    border-radius: 3px;
    cursor: pointer;
}

.radio:checked + .label {
    color: white;
    background: rgba(0, 0, 0, 0.25);
}
3. میله های پیشرو مینیمالیست دایره ای
اگر می خواهید نوارهای پیشرفت دایره ای ایجاد کنید، این نمونه های متحرک مینیمالیستی می توانند یکی از بهترین گزینه های شما باشند. نوارهای پیشرفت دایره ای بیشتر در وب سایت های سنگین شخصی، تجاری و بصری داده ها استفاده می شود. با کد بازی کنید و تغییرات را متناسب با نیاز خود انجام دهید. می توانید طول نوار را با تغییر ویژگی stroke-dashoffset CSS تغییر دهید.

کد HTML
<div class="container">
    <div class="container__progressbars">
        <div class="progressbar">
            <svg class="progressbar__svg">
                <circle cx="80" cy="80" r="70" class="progressbar__svg-circle circle-html shadow-html"> </circle>
            </svg>
            <span class="progressbar__text shadow-html">HTML</span>
       </div>
   </div>
</div>
کد CSS
a {
    text-decoration: none;
}

.made {
    display: block;
    color: #f2f2f2;
    font-size: 0.75rem;
    text-align: center;
}

* {
    box-sizing: border-box;
}

.container {
    display: flex;
    justify-content: center;
    align-items: center;
    min-height: 100vh;
    background-color: #0d0d0d;
}

.container__progressbars {
    display: flex;
    justify-content: space-around;
    align-items: center;
    flex-wrap: wrap;
    min-width: 270px;
    width: 100%;
    min-height: 100%;
}

.progressbar {
    position: relative;
    width: 170px;
    height: 170px;
    margin: 1em;
    transform: rotate(-90deg);
}

.progressbar__svg {
    position: relative;
    width: 100%;
    height: 100%;
}

.progressbar__svg-circle {
    width: 100%;
    height: 100%;
    fill: none;
    stroke-width: 10;
    stroke-dasharray: 440;
    stroke-dashoffset: 440;
    stroke: white;
    stroke-linecap: round;
    transform: translate(5px, 5px);
}

.shadow-html {
    filter: drop-shadow(0 0 5px #ff6633);
}

.circle-html {
    -webkit-animation: anim_circle-html 1s ease-in-out forwards;
            animation: anim_circle-html 1s ease-in-out forwards;
}

.progressbar__text {
    position: absolute;
    top: 50%;
    left: 50%;
    padding: 0.25em 0.5em;
    color: white;
    font-family: Arial, Helvetica, sans-serif;
    border-radius: 0.25em;
    transform: translate(-50%, -50%) rotate(90deg);
}

@-webkit-keyframes anim_circle-html {
    to {
        stroke-dashoffset: 22;
    }
}

@keyframes anim_circle-html {
    to {
        stroke-dashoffset: 22;
    }
}
4. CSS Skill Progress Bar
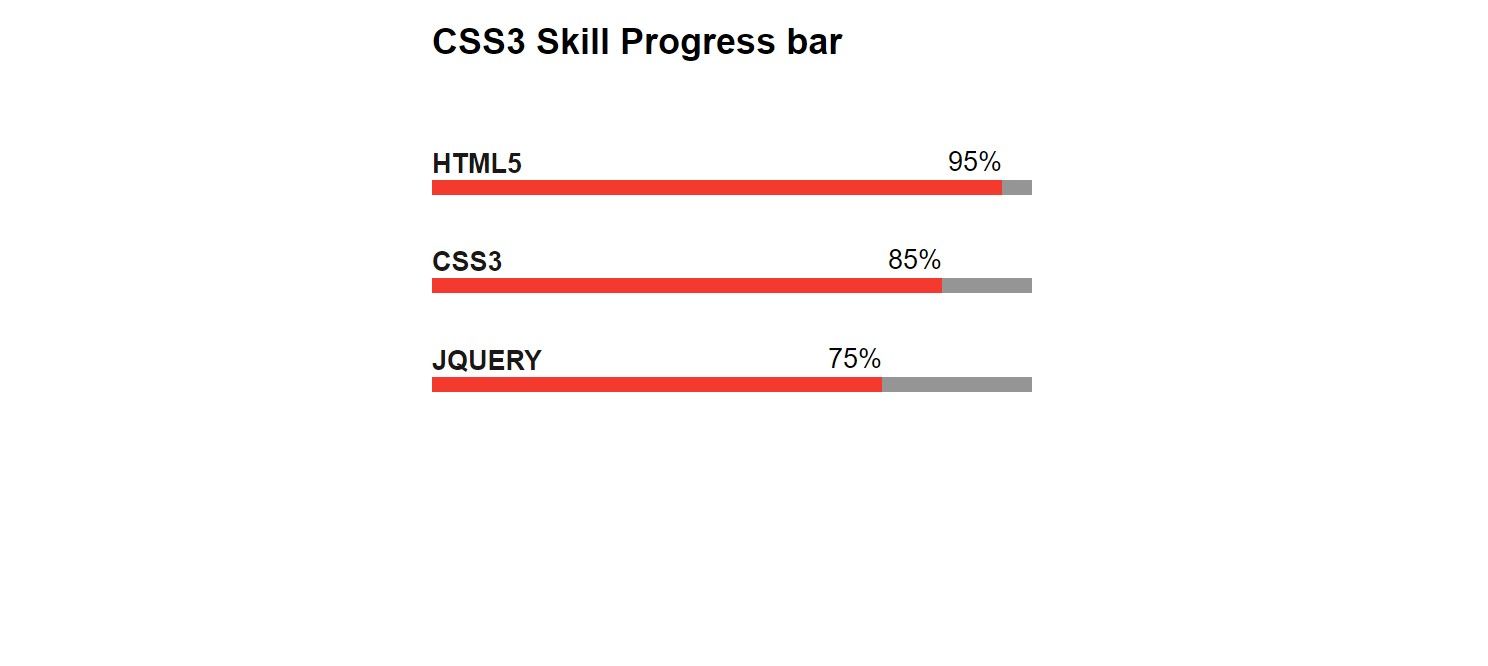
اگر می خواهید یک نوار پیشرفت ساده با درصد ایجاد کنید، این یکی ممکن است مناسب باشد. می توانید ارتفاع نوار پیشرفت را با تغییر ویژگی height .skill-bar و .skill:before کلاس ها تغییر دهید. شما می توانید طول را با تغییر ویژگی عرض کلاس ها (.skill1, .skill2, .skill3) تغییر دهید.
کد HTML
<div class="wrapper">
    <h2 class="how-title">CSS3 Skill Progress bar</h2>


    <div class="skill">
        <p>HTML5</p>
        <div class="skill-bar skill1">
            <span class="skill-count1">95%</span>
        </div>
    </div>
    <div class="skill">
        <p>CSS3</p>
        <div class="skill-bar skill2">
            <span class="skill-count2">85%</span>
        </div>
    </div>
    <div class="skill">
        <p>JQUERY</p>
        <div class="skill-bar skill3">
            <span class="skill-count3">75%</span>
        </div>
    </div>
</div>
کد CSS
.wrapper {
    width: 400px;
    font-family: 'Roboto', sans-serif;
    margin:0 auto;
}

.skill {
    margin-bottom: 35px;
    position: relative;
    overflow-x:hidden;
}

.skill > p {
    font-size: 18px;
    font-weight: 700;
    color: #1a1716;
    margin: 0;
}

.skill:before {
    width: 100%;
    height: 10px;
    content: "";
    display: block;
    position: absolute;
    background: #959595;
    bottom: 0;
}

.skill-bar {
    width: 100%;
    height: 10px;
    background:#f4392f;
    display: block;
    position: relative;
}

.skill-bar span {
    position: absolute;
    border-top: 5px solid #f4392f;
    top: -30px;
    padding: 0;
    font-size: 18px;
    padding: 3px 0;
    font-weight: 500;
}

.skill-bar {
    position: relative;
}

.skill1 .skill-count1 {
    right: 0;
}

.skill1 {
    width: 95%;
}

.skill2 {
    width: 85%;
}

.skill2 .skill-count2 {
    right: 0;
}

.skill3{
   width: 75%;
}

.skill3 .skill-count3 {
    right: 0;
}
ترفندهای باورنکردنی CSS را یاد بگیرید
با استفاده از این تکنیک های CSS، می توانید نوارهای مترقی جذاب و قابل استفاده مجدد ایجاد کنید. اما با CSS می توانید کارهای بیشتری انجام دهید. CSS ویژگی های بسیاری را برای دستکاری تصاویر، پاسخگو کردن متن و تصاویر، مدیریت سرریز و غیره فراهم می کند.
